


When we walked into this house, I saw instant potential! And thanks to my recent binge-watching of Fixer Upper, I was ready! I knocked on walls and started planning which ones would go and which would stay. I imagined some shiplap and saw possibilities in all kinds of corners of this house.
When I had dreamed of a cabin my criteria had been to have two living spaces so that the kiddos could have their own place as could the adults – lots of potential sleeping areas, and it had to have a fun address. It couldn’t be just numbers – the address had to feel like a cabin address. Well, this place fit all of those and so we jumped in!
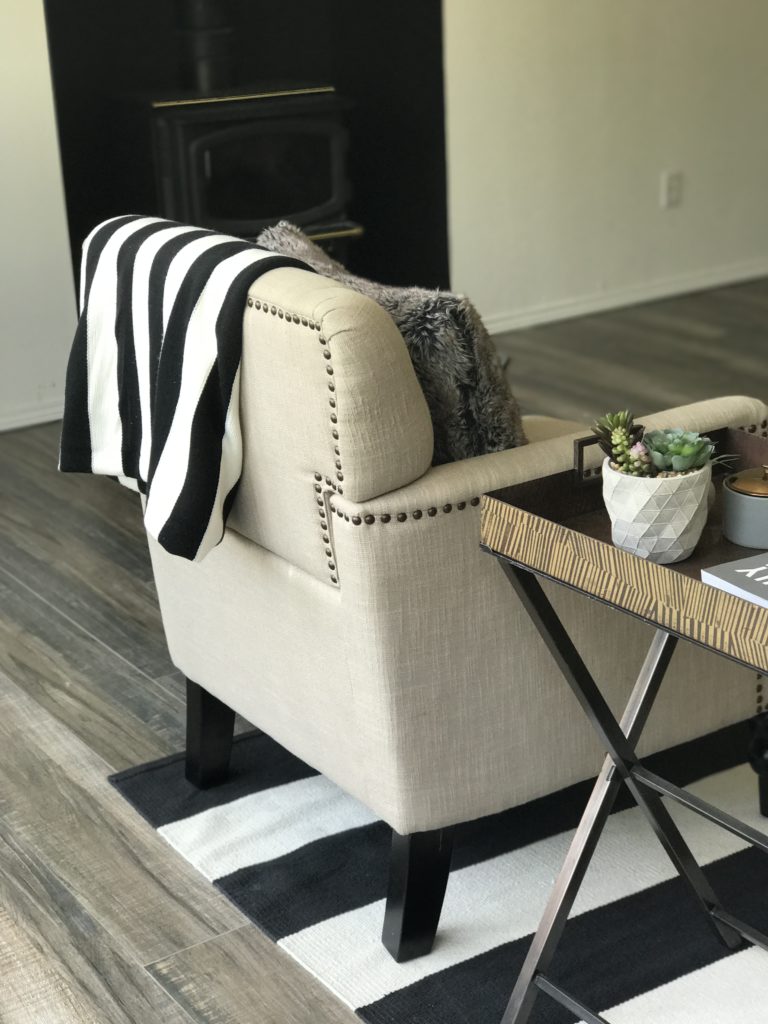
There was no doubt that I was going to want to add my own touches. First on the list was to remove a few walls to open up the upper living spaces and update the flooring.
When it came to the floors I instantly knew I wanted wood-tile. I had seen it in a vacation home of one of my friends (Kim in Flagstaff, AZ.) and loved the versatility of it.
I knew this cabin would get lots of dirt, mud, snow and sand drug in through the seasons and I didn’t want to have to be worrying about the floors over my focus on making memories.
Insert Wood Tile!
 I love it! Not gonna lie, it was a long and arduous process of installing (we did it all ourselves), but it was so worth it!
Now we have the look of wood without the worry of water warping it and we have the durability of tile which is a good thing because these floors are going to take a beating through 4 distinct seasons!
Benefits of Wood-Tile:
Waterproof – this is huge in the winter with all the snow it gets here!
Scratch Resistant – I wanted to be sure that we could focus on memories more than keeping things pristine. The wood-tile will allow the floors to not need to be a concern.
Minimal Upkeep – Once the tile is in, you’re set! I may reseal the tile every so often but that’s all that will be needed.
Can be Everywhere – Since there is no concern about water, the wood tile can go through the full house from kitchen to bathroom to main living spaces
Choosing Wood Tile:
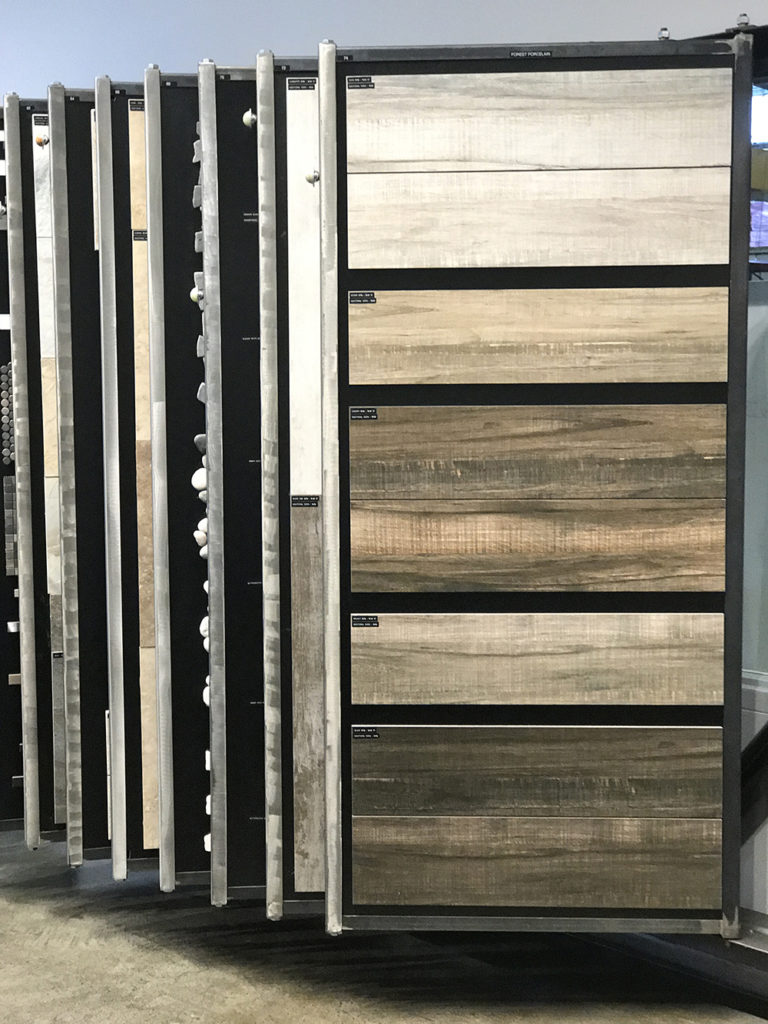
Just like there are different levels of quality for carpet or wood flooring options, the same is true for tile. The first thing to note is that wood-tile comes in either ceramic or porcelain. Porcelain is the better option, it is fired at a higher temperature. This makes porcelain tile much harder and denser, and it is less prone to stain absorption and moisture.
So we knew we wanted Porcelain Tile. Now we needed to pick the color. This was tough! We worked with Bedrosians and headed to a sample store to start choosing.

We were between the European Collection and the Forest Collection, which both fit nicely in our budget. Next, we brought all our color samples back to the cabin, laid them out and tried to decide.
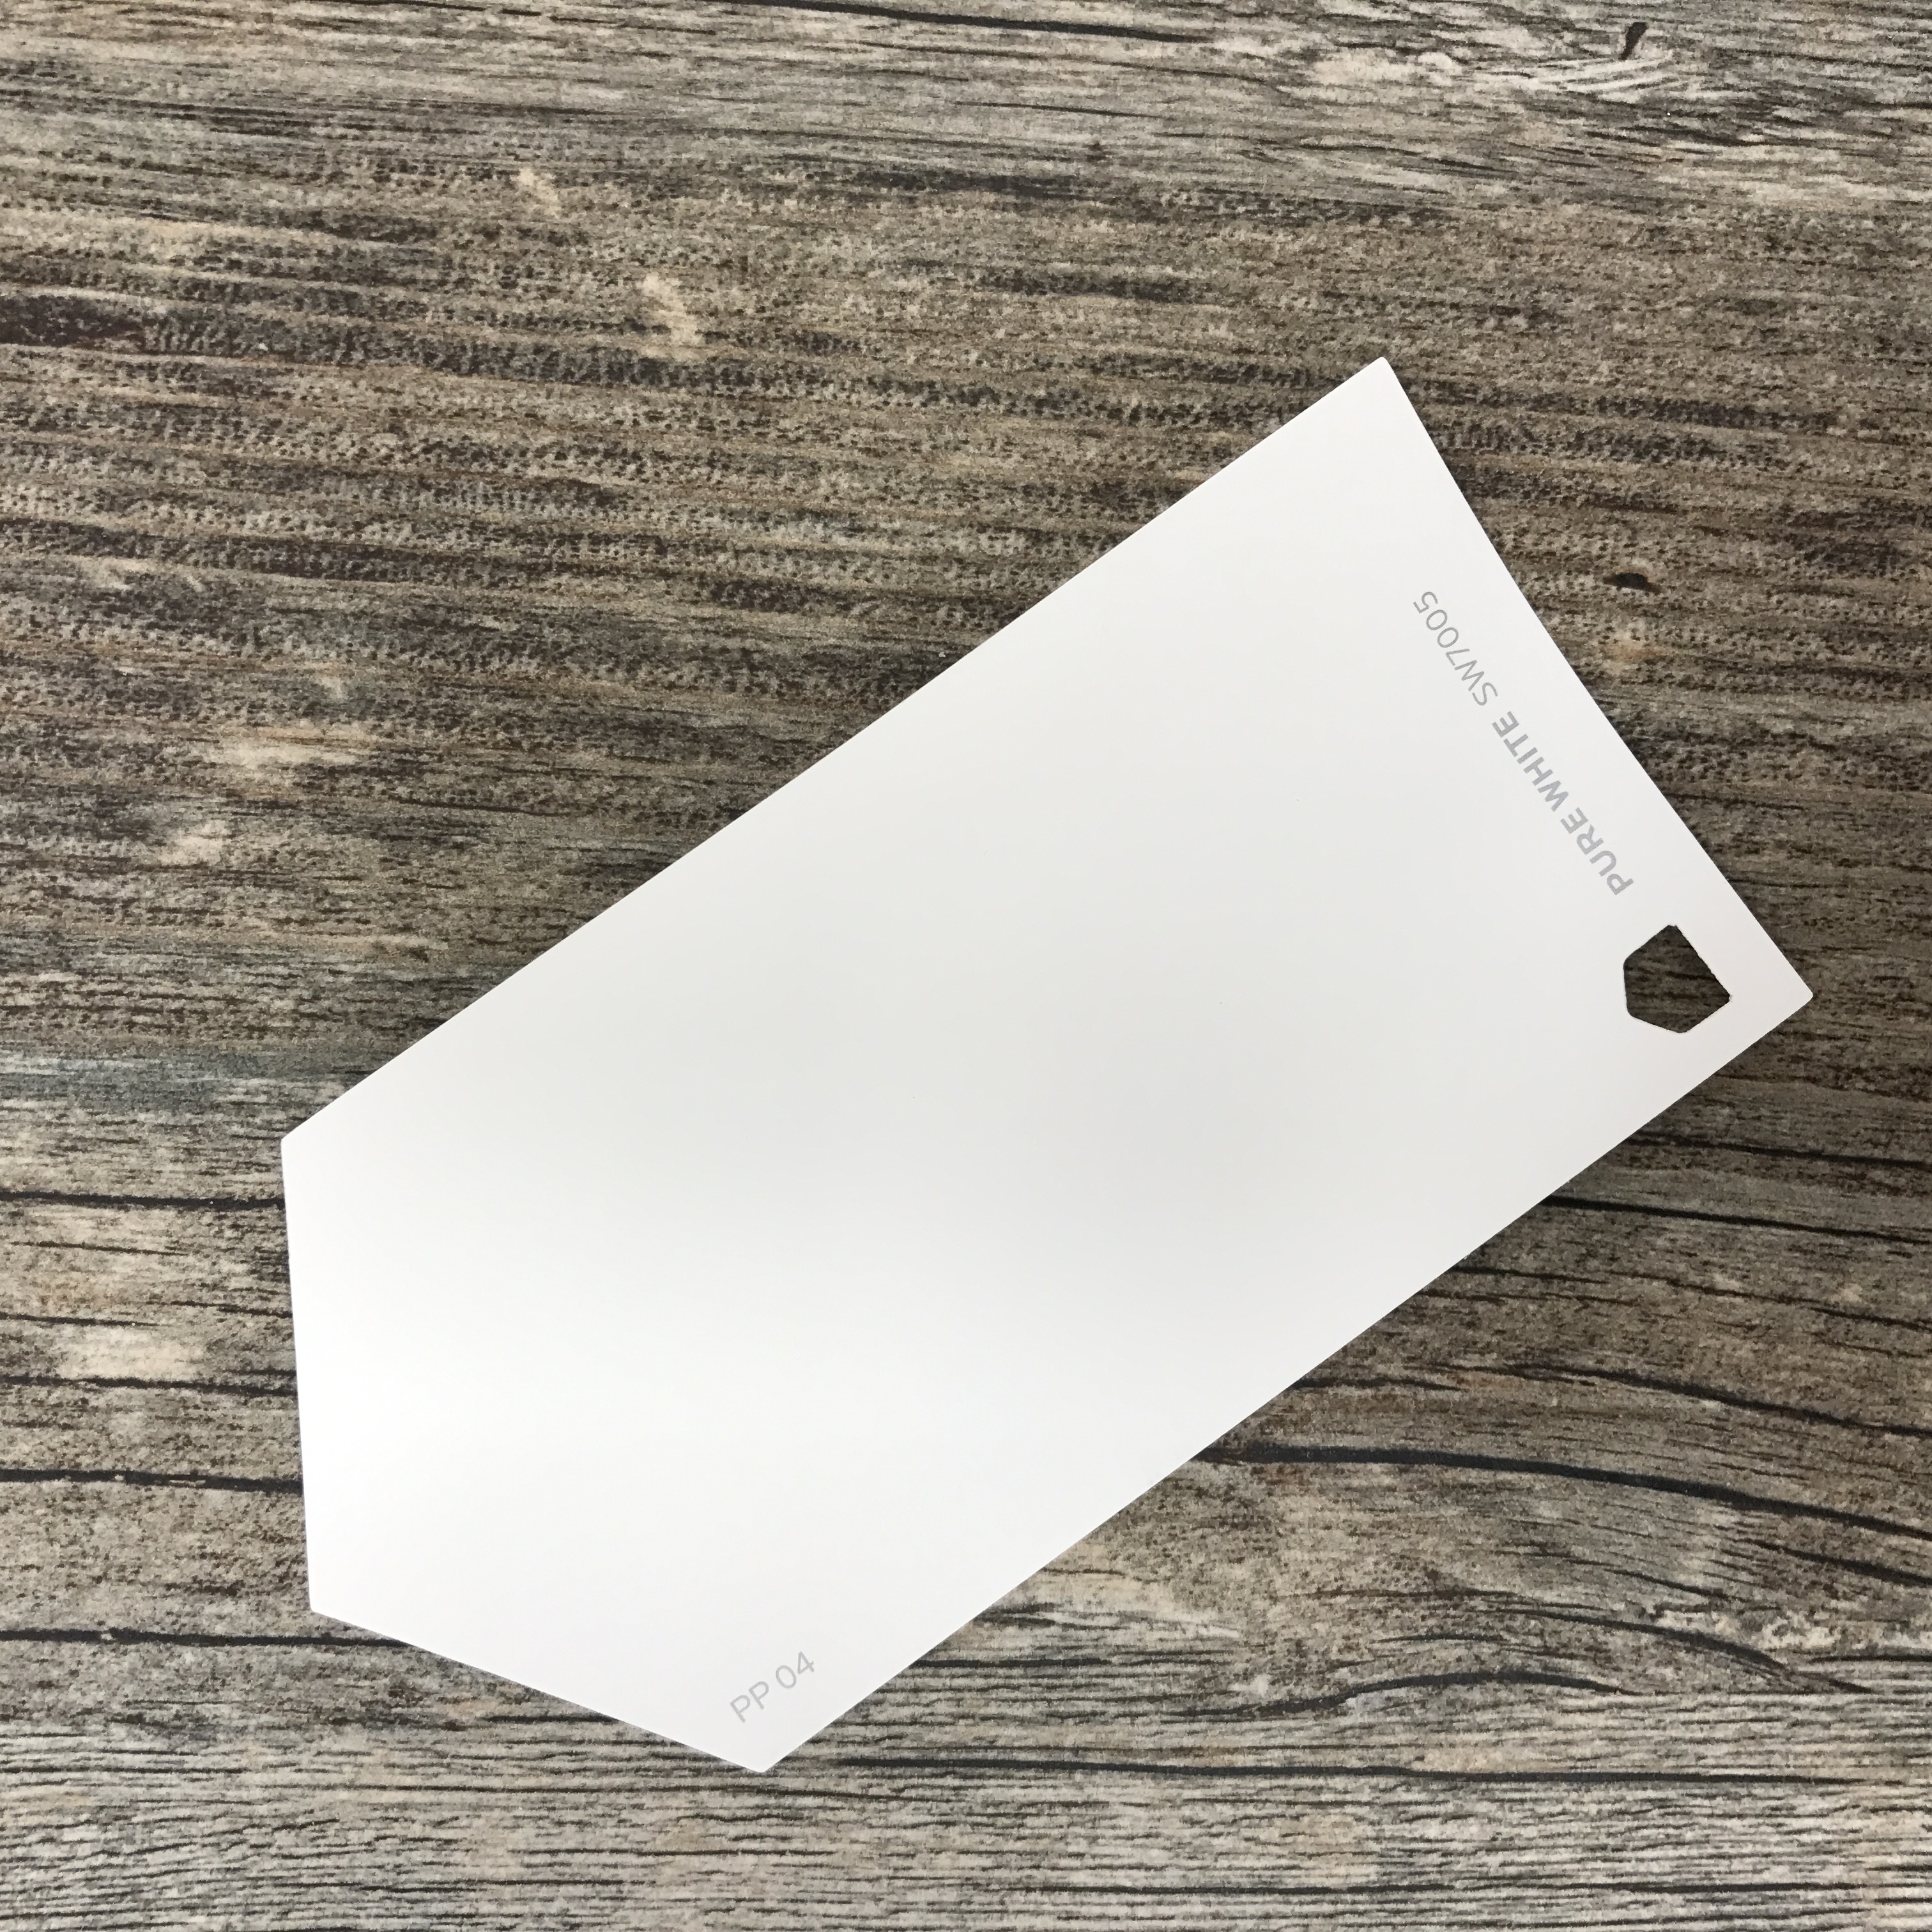
I knew that I was painting everything white! The walls, trim, cabinets so I wanted to add some warmth back into the cabin with the flooring.
We finally decided on the Forest Line (after all, this is for our cabin in the woods) 🙂 Then we went back and forth on what color variation. We posted on Instagram and thanks to your help, we decided on Walnut. The middle color. Ultimately, we liked all three colors so why not just stay in the middle.

When choosing a wood tile, longer will look more realistic and the Forest Line came in 36″ or 48″. We were told the longer the tile, the harder it can be to install but we went ahead and chanced it, because we wanted the look. I’m really glad we did.
We placed our order for over 1800 sq. ft of tile in Forest Walnut, 48″ by Bedrosians, it would arrive the following week so we got to work preparing the floors!
Oh. my. word! Tiling is hard work! I have a new profound respect for those who do this for a living. Of course, most DIYers take on a bathroom or a backsplash. Not us! We took on the entire house.
We broke it up by floor, starting with the main living areas including a living room, entry, kitchen, master bedroom, and two bathrooms. So here is how we did it…
INSTALLING WOOD TILE
Step 1: Get down to Sub Floor
This meant removing all of the previous floorings and getting it down to sub-floor. This was a family event! This is our family cabin so as a family we are going to make it our own together.
Paysen and I would have contests for pulling out the tack strips left by the previous carpet. We’d start in the center of one wall and work opposite side and see who got to who first.

We even had Grandpa’s help one day… More staples and screws to pull out… It didn’t seem like it would ever end. 
The girls were amazing helpers pulling out thousands of staples.

Step 2: Putting down Hardie Backer
You wouldn’t believe the blisters we had from drilling in the Hardie Backer boards. It took days to cut, place and screw it all in. We actually called for reinforcement and were so grateful when the LDS Mormon Missionaries came over and spent an entire day drilling in Hardie Backer with us. We love the missionaries! If you ever have a set knock on your door, please be kind to them! They are far from home and just trying to serve!

When it was finally done we were ready for tile. Here is a tutorial for Hardie Backer installation that we found helpful!
Next, it was time to pick up the tile, get it to Leavenworth (two and a half hours from the Seattle warehouse) and unload it. On the Seattle side, a very wonderful forklift got the tile on the flat bead. On the Leavenworth side, it was Taylor and I, plus our amazing friend Robb who unloaded over 8,000 pounds of tile.


Step 3: Lay Tile with Thin Set
The next step is to start laying out all of your tiles. We started in the master bedroom and worked our way out and down the halls. Once you get into large open areas it goes pretty well but when you’re making cuts and sizing for corners, closets, and doorways, be prepared for slow work!
Tips we learned:
Make smaller batches of Thin Set so that it doesn’t dry out before you’ve used it all up.
You want your consistency to be like a medium thick pancake batter. And using a mixing wand makes the job so much faster, I would never want anyone to have to mix by hand! That screams hand cramp for days!
Paysen is mixing some thin set for us, have you read how he’s the reason we got this cabin? Oh and he’s 9!

When you’re laying your tiles, you want to make sure you are checking for patterns and adjusting to keep the look flowing. Depending on your tile, you could have somewhere between 4 and 16 pattern variations. To keep the tile looking more realistic, it may mean turning and rotating tiles to create variety.
When it came to placing the tile, we found our rhythm by having one person feeding boards to me, I would set – then I would check all corners to make sure the board was even with the previous tile. If it was too high or too low, I used an amazing tool called a tack lifter (thanks Jacob for that tip) to pop the low tile up and place wedges in the corners to level it with the rest. We used a few different tile wedges, these were the easiest tile wedges we used by far!
Finally, you place the spacers, which will become your grout lines and lay the next one. We used a 1/8″ spacer. We wanted to go as thin as possible. I think we probably could have done 1/16″ but at the time we were nervous being newbies, so we went for the 1/8″.

Step 4: Time to Grout
After the thin-set and tile have set (about 24 to 48 hours), you’ll pull up all your spacers. We just went around with shoes and kicked them up out of the grooves and then swept them into a pile. Now it’s time to come back through and grout.
Laying grout is time-consuming. You mix the grout in very small batches and then come through with a float and get the grout in between all your grooves. You’re laying the grout down and then you’ll polish it off. Here’s a Grout Video Tutorial we found helpful.
Step 5: Seal the Floors
Sealing the floors is optional, but since we want our floors to last the test of time and they are in locations with food and drink, there was no question for us. We used this sealer. You have to be really careful when you’re applying sealer in that you start with clean floors and stay far away until it’s all cured (otherwise you’ll find, shoe or footprint marks on your tile). We also found that you had to really keep your direction smooth. There are two spots where we stopped and then came back and started again and when I’m washing the floors, I do notice them (I’m sure no one else would ever notice though).
One tip with sealers is to check the finish! I did not want my rustic wood tile look to be shiny so I made sure to find a matte sealer like this one.

This makes it sound like tiling floors is as easy as a few steps. Let me be very clear, there are a ton of steps for each of these steps. So be ready! Tiling is a multi-day project even for small jobs because you have to wait for thinset, grout and sealers to each to dry and set.)
But in the end, even after ALL of the work! I’m super happy with our wood tile as the kids, hubby, and friends have tromped through the cabin and dropped hard objects on the floor – I’ve loved knowing that they are durable Bendrosians tile.

I can’t wait to share our kitchen revamp next so stay tuned! I LOVE what the wood tile floors did for the kitchen?
One Year Update: Now that we’ve been through all the seasons, I’m still LOVING our wood tile. We’ve dropped things, spilled things, and of course, brought in all of the elements and they are holding up strong! No chips at all.


")


")
[…] Tile – here’s out post about our wood tile and why we love […]